You are almost to Winter Break and this winter STEM activity is just what you need to solve every teacher’s dilemma during this time of year–how can you have fun and enjoy the holidays without wasting instructional time? STEM Challenges … the answer is always STEM Challenges!!
Premise of Sleigh/Sled & Slope
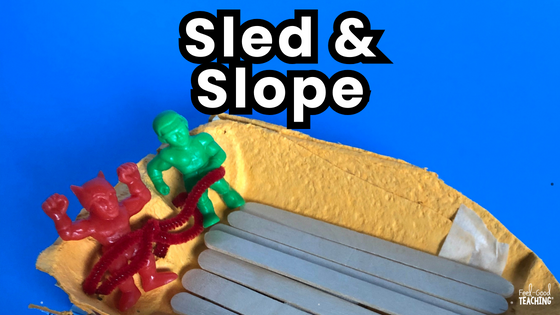
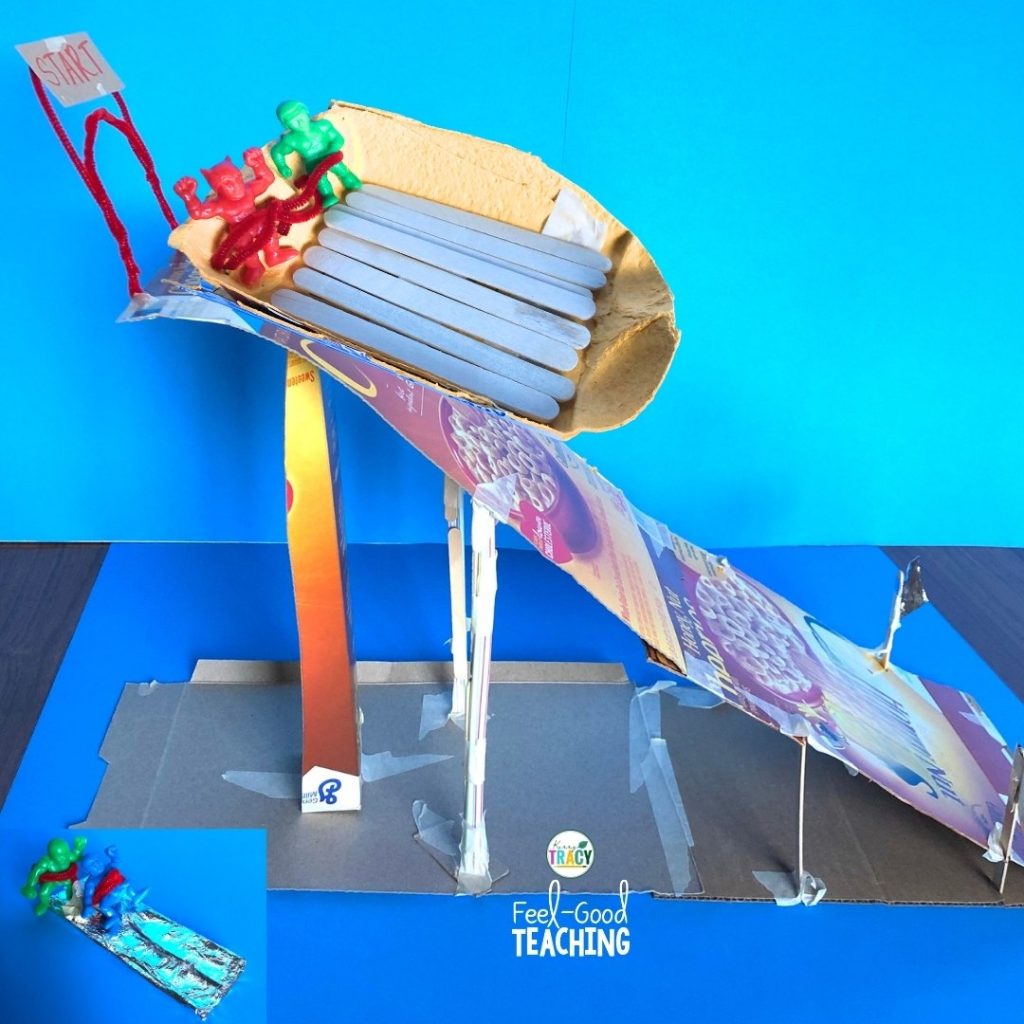
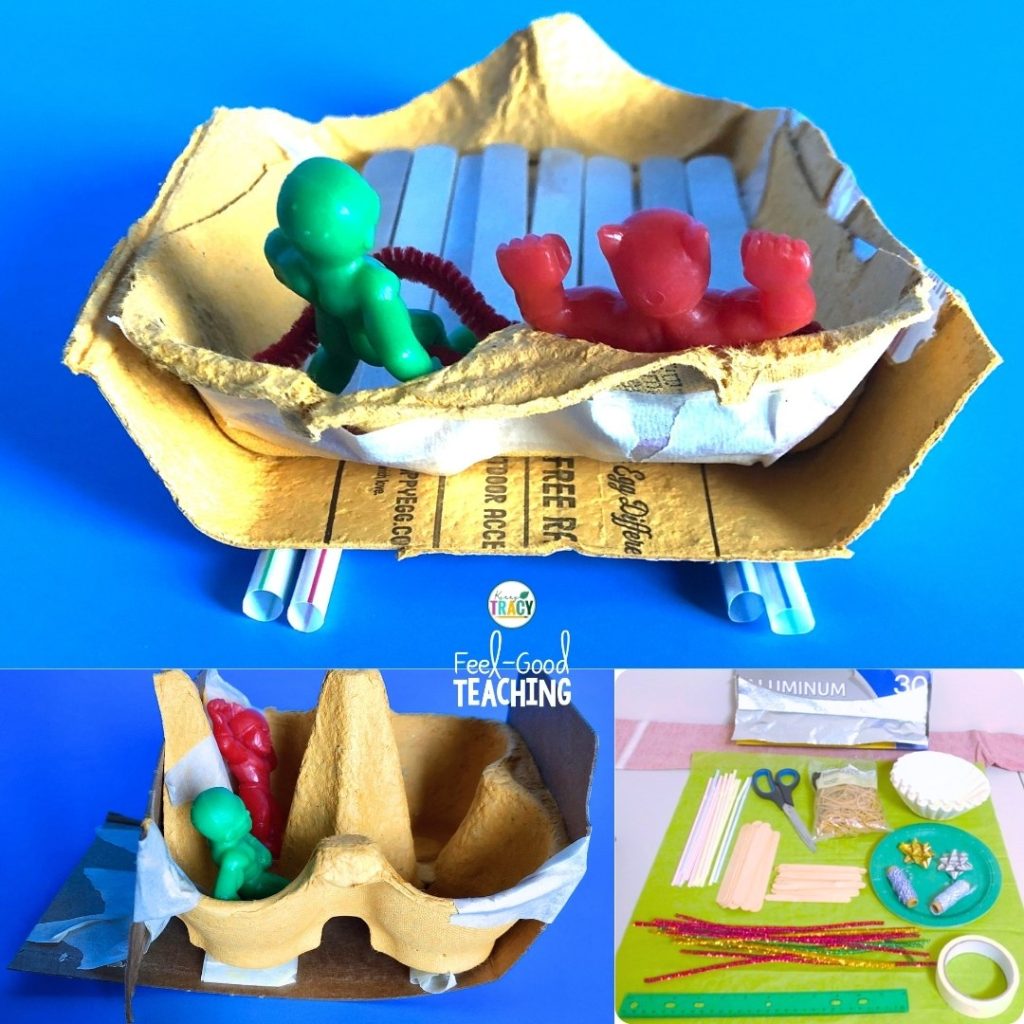
In Sleigh/Sled & Slope, students create a ramp and sled designed to transport cargo safely and travel the maximum distance. This one comes with 2 versions: winter and Christmas, so if your school says Christmas activities are a no-no, I’ve got you covered.
Where Can I Find Out More?
As you may already be aware, I’ve found creating video walk-throughs of my STEM challenges is a great way to explain the important details: materials, set-up, tips, modifications, extensions, and more! Check out the video below to learn more about Sleigh/Sled & Slope. However, if you prefer to read, you’ll find the video transcribed at the end of this post.
Social Distance & Distance Learning Modifications:
Are There Other Christmas/Winter STEM Challenges Like This?
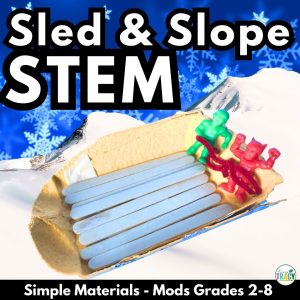
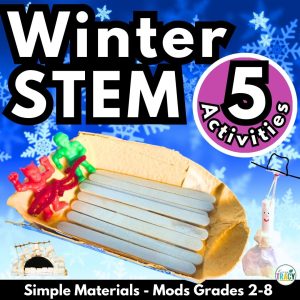
Of course! I can’t help myself! You’ll find all five of the Christmas/Winter STEM challenges I’ve created in the 5-challenge bundle briefly described in this post. Each challenge post is linked there for the walk-through videos and more details. You can also find this Winter and Christmas STEM activity alone (top left) or in a bundle of 5 Christmas and Winter STEM activities (top right). You may also like the Late Winter STEM Activities Bundle & the Valentine’s Day STEM Activities Bundle. Please reach out with any questions and tag me in photos of your students’ work on Facebook & Instagram if you want to give me a smile this holiday season!


You can also find this Christmas/Winter STEM challenge, Sleigh/Sled & Slope, on Etsy!
Related Posts
Video Transcription of Winter STEM Activity Sleigh/Sled & Slope
Hi there, welcome to week three of the Winter and Christmas STEM challenges. This week we are doing Sleigh & Slope or Sled & Slope, or you prefer the winter version. I’m going to be using Sleigh and Sled interchangeably for the rest of the video. In this one the students design a combo ramp and sled designed to keep the cargo inside and the sled to go the maximum distance.
For Sleigh and Slope, we’re going to play up the Christmas angle pretending that it’s Santa’s sleigh and that we’re trying to keep the gifts inside. The gifts can be symbolized by either little bows or little ornaments and it will say these tubes of 15 ornaments I just got this weekend at Dollar Tree. It’s a good deal.
If you don’t want to use the Christmas version, then just call it Sled and Slope. Instead of keeping gifts inside, we are going to keep riders inside. Before I get too far ahead of myself, let’s check out the other materials and the STEM Challenge Cycle. Just so you know, I did just have new video made for the STEM Challenge Cycle. It’s a little more descriptive that the one I had before, make sure you click on the pop-in link when it comes in.
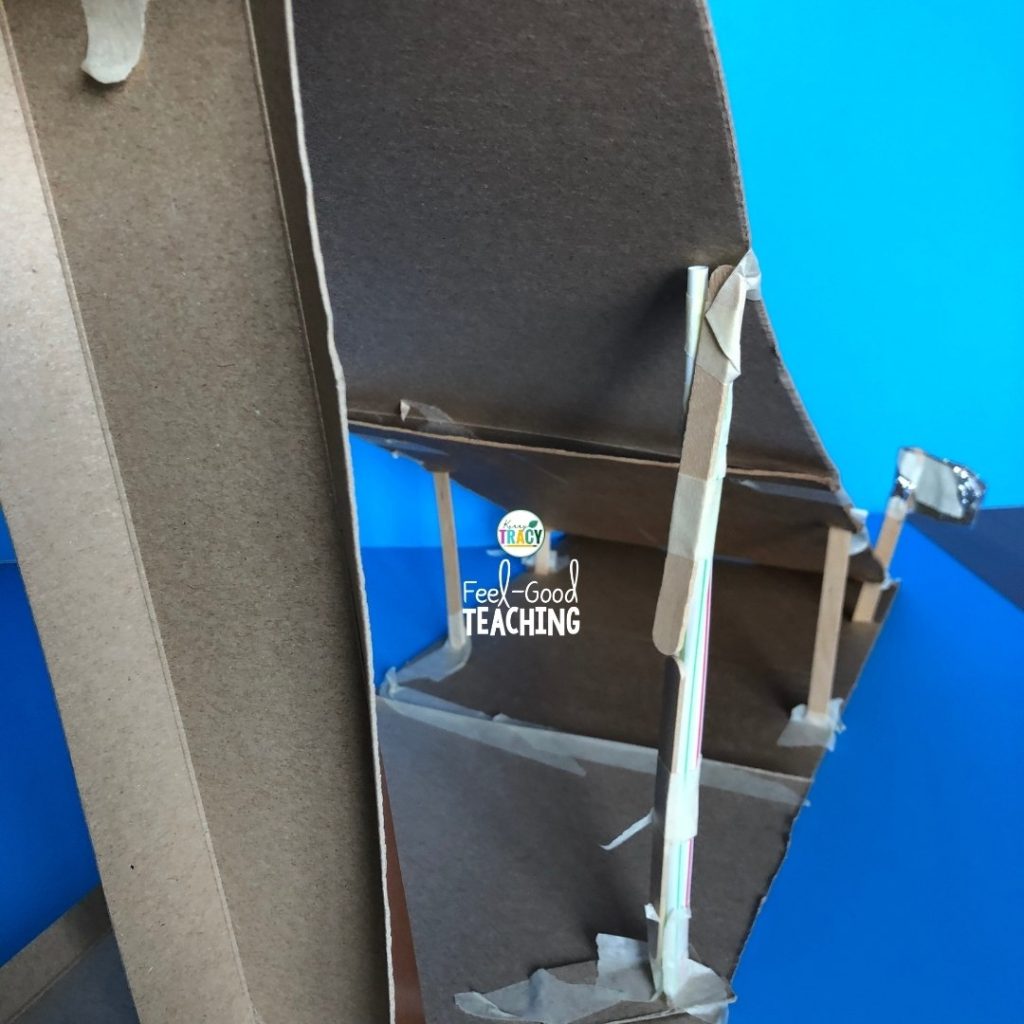
This is the STEM Challenge Cycle you should follow for every challenge. I’ve defined each step in another video. I’ve added a pop in card to that video here as well as a link in the description. For a lot of challenges having cardboard scraps is really helpful. This one obviously it’s pretty important. I love using cereal boxes and Kleenex boxes because the card board is firm enough but it’s also easy enough for the students to cut.
Some things to think about before you start the challenge would be where the students build. Now I would recommend having them build on the actually floor of the classroom. The reason is if you’re on the edge of the desk as I am, if your sleigh actually a pretty good design it’s going to fall off of the edge of the desk.
Which brings me to the next thing you need to think about. Will you allow the students to connect their ramps to the desk in any way? Even if it’s on the ground they might want to prop it off it of the table leg. You just need to decide if that’s okay with you or not. If it’s not, you need to put it in the constraints that it has to be a standalone ramp, that it cannot be leaning against a wall or a desk.
Now another thing to think about because the cargo has to stay inside, students might want to build it as an enclosed sled. If you don’t want them to do that, then you need to have a constraint that says something like has to be an open air vehicle or it can never turn end over end, so that maybe they wouldn’t think of making a sphere.
Usually start with the criterion of containing two gifts or two riders. But it might be an interesting thing to do, rather than giving them the two bows or the two ornaments, is to have a variety of options and let them choose what they like candy canes, bows, ornaments, whatever. To allow them to choose whatever amount they want as long as they have at least two.
What that’s going to do is, it’s going to change the mass of the sled and that then in turn should impact their design and how far the sled will travel. The same thing would apply to riders. The more riders, the more mass. It should make some sort of a difference.
But you might want to be keeping it a little bit more simple and not introduce too many variables, that’s up to you and of course the age group of your students. Another thing that I’ve seen teachers do before is to actually make the ramp for the students and all the students use the same ramp. I’m not really a fan
of that idea but I understand there would be cases where it’s appropriate.
However, you miss a lot of options and variables in terms of the height, the length of the ramp, and the angle of the ramp and it gives students a lot of different variables to test and to try out. I don’t like the idea of taking that away.
The way the students are going to measure is from the beginning of the sled before the release and after. Students are not allowed to push the sled down the hill. It is a constraint that they can release it but they cannot push. May need to note before they release the sled, where is the starting point? Where is the furthest out point of the sled? Then once the sled stops they need to measure it and that will be their total distance.
I think I’ve just demonstrated why it’s important to build on the ground or a very long table. When I’m having students measure, if the cargo falls out of the sled, it’s an invalid trial. You can have students either record their final result as their best achieved distance or as an average of the valid trial distances.
Now I always have students sketch their final designs and where it’s age appropriate, I would have them label the length of the ramp, the height of the ramp and the angle of the ramp. If you’re looking to make this just a little bit more challenging, you can increase the amount of gifts or riders that have to remain in the sled.
You can add a weather resistant criterion and a couple of ideas for that would be to expose the sled to very strong winds that are oncoming winds. That will force the students to think about the aerodynamics of their sled as well as making sure if they have light materials inside that they’re somehow secured inside. You can also introduce some rain with a spray bottle and require that those gifts and riders remain dry. Another way to increase difficulty is by the extension activities that you choose. Let’s talk about some of those.
They’re a lot of variables that play here. We have the materials used for the sled and the slope. We have the height, length and angle of the ramp. Also, we have the surface area of the sled. Friction of course is at play here. You could have students choose and isolate a variable to test and create an experiment or investigation around it.
For younger students, they could study simple machines especially ramps. You could explore forces, friction, potential and kinetic energy. There are a lot of extension opportunities. Now you have all the basics but of course there’s always more. Check out the resource.
Don’t waste time recreating the whole this resource contains everything you need including modifications for use with 2nd through 8th graders. You’ll still need to gather the simple materials of course, but the hard parts are done. You’ll get Aligned Next Generation Science Standards, links to my STEM challenge How-to videos to help you get the most from each challenge and the Sleigh and Slope Materials list.
In Teacher Tips, you’ll find premise and set up, how to increase or decrease difficulty through the Criteria and Constraints list, measuring results and cross-circular extension suggestions. You’ll find two versions of editable Criteria and Constraints list, so you can tailor the challenge to your students.
For Student Handouts, they’re two versions in color and black and white. Four-page expanded room for response for younger students and two-page condensed space paper saver version. A Sled and Slope set of handouts is provided if you need or prefer a winter non Christmas version of the challenge.
You’ll also get a data recording sheet and a set of group discussion questions. In the extension templates, you’ll find a set of handouts for students to design their own reducing friction experiment with sample answer key. You’ll also find math extension and process flow templates. This resource is available individually and as part of the discounted Winter/Christmas and Mega STEM challenge bundles. Links can be found in the description below the video.
Don’t forget to like and subscribe. I will be back next week with snowman stretch. You don’t want to miss it. See you next time.
Pin me!